Practical guide · 3 min
Choosing the proportions of a Bund pad.
How the visible border, shoulders and side profile change the way a Bund strap frames a watch.
Look at the border around the case
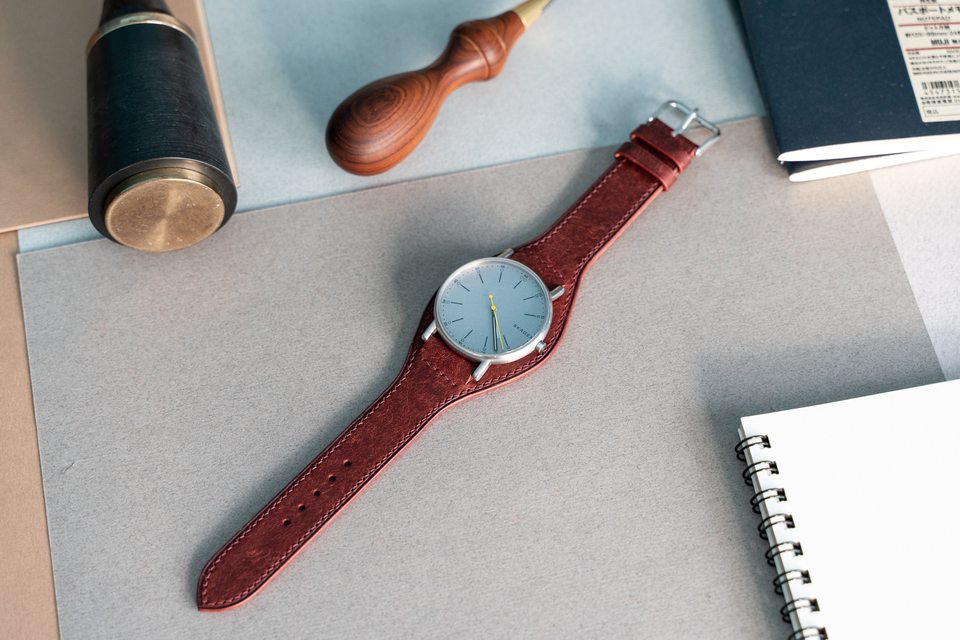
Begin with a photograph that shows the entire case and the leather beside it. The visible margin determines how strongly the pad frames the watch. In the slim pieces in this archive, a narrow leather border follows the round case before turning into the shoulders of the strap.
Follow that margin all the way around the visible part of the case. Notice where it is clear and where the watch covers it. An angled photograph can make one side look wider than the other, so compare another view before deciding that the pad itself is asymmetric.
Trace the shoulders
The shoulders are the transitions between the wider centre and the narrower lengths of strap. They occupy less space than the pad, but they have a large effect on the outline. A gradual curve carries the eye away from the watch; a sharp change makes the centre feel more separate.
Our cognac, dark-brown and red examples all use curved transitions. Look at the perimeter stitching to follow the shape. It is particularly clear where the thread is lighter than the leather. Compare the curve itself before considering colour, which can make the same general outline seem more or less prominent.
Compare photographs at a similar scale
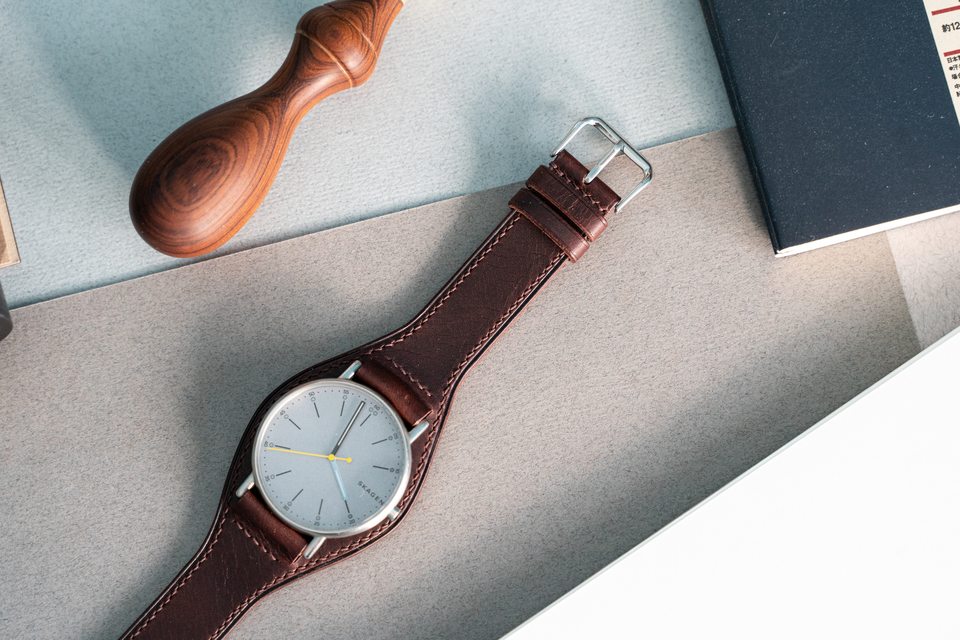
A large close-up can make a compact pad look broad. When comparing two works, bring the watch cases to roughly the same size on your screen. Then look at how far the leather extends beside the case and how quickly the shoulders narrow. This helps separate the shape from the way the picture was cropped.
Use the comparison to describe a preference, rather than to calculate dimensions. The photographs were taken from different positions. You can say that you prefer a close border or a longer taper, but exact dimensions still need a drawing or a measurement of the actual piece.
Check the side profile
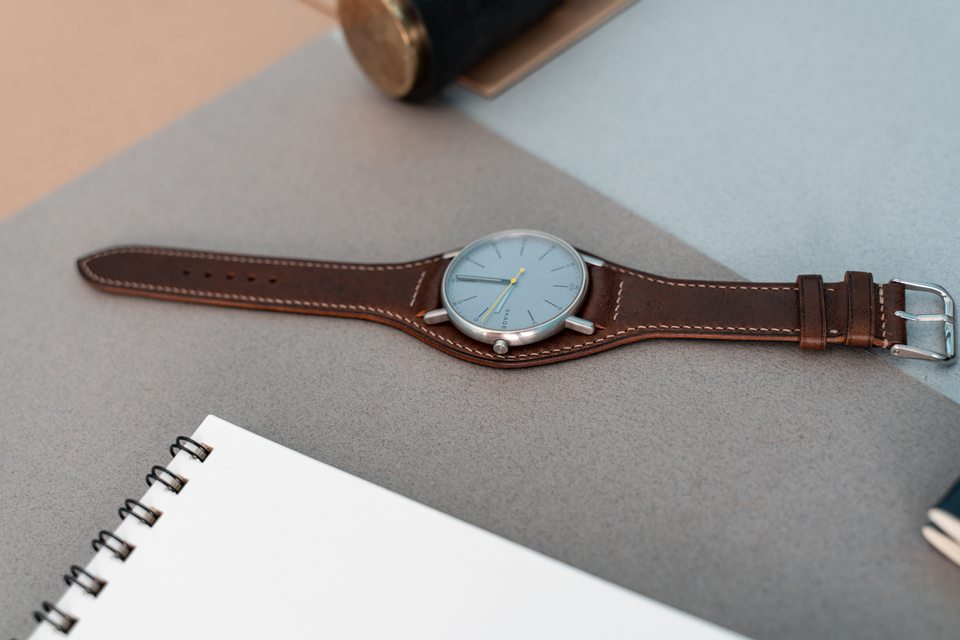
The view from above describes the outline. A low side view shows the layers beneath the case, the folded attachments near the lugs and the edge of the pad. These details explain why two straps with similar outlines can look quite different when seen across the wrist.
Pay attention to the point where the watch meets the leather and to the transition towards the strap. A table photograph can show the construction clearly. A wrist photograph, when available, adds another view of the overall proportions. Neither tells you the feel of the leather through the screen.
Describe one feature at a time
Save a reference and name the details you want to discuss. A useful note might be: a close border around the case, curved shoulders and a discreet stitch colour. This separates the shape from the finish and gives the maker something concrete to respond to.
Keep one front view and one side view together. If they come from different works, identify both rather than assuming they share dimensions. The archive offers examples to study; the proportions of a new piece depend on the watch and the design being specified.